A wedding seating chart has a reputation for being the most stressful job on the whole to-do list. It does not have to be. Most of the stress comes from doing things in the wrong order: seating people before the RSVPs are in, arguing about one table before the room is even drawn, or retyping the same names into a spreadsheet, a design app and a pile of escort cards.
This guide walks you through the order that works, from the first rough draft to the printed chart on the easel. It works for 40 guests or 300, with pen and paper or with an app.
On this page
- When to start your seating chart
- What you need before you start
- Step 1: Clean up your guest list
- Step 2: Draw the room
- Step 3: Seat the VIPs first
- Step 4: Group everyone else
- Step 5: Handle the hard cases
- Step 6: Choose how guests will find their seat
- Step 7: Print it
- Common seating chart mistakes
- Frequently asked questions
When to start your seating chart
Start a rough draft about six weeks before the wedding and finish it one to two weeks before. Here is why those dates work:
- Invitations usually go out six to eight weeks before the day, with an RSVP deadline three to four weeks before. Until most replies are in, you are seating people who might not come.
- Your caterer and venue need a final headcount, usually 7 to 14 days out. Your seating chart and your headcount should come from the same list.
- Printing takes time. A print shop needs a few days for a large poster and escort cards, and you want a buffer for last-minute changes.
A draft made early is still useful. Group your guests and sketch the room as soon as you know your venue. When the RSVPs arrive, you only move a few names instead of starting from zero.
If you are not sure when your invitations should go out, see our invitation timeline.
What you need before you start
- Your guest list with RSVPs. Names, who is coming with whom, children, and meal choices if your caterer needs them on the cards.
- The floor plan of your reception room. Ask your venue for a drawing with table sizes, the dance floor, the bar, doors and the DJ or band. Even a phone photo of their layout is enough.
- Table sizes. A 60-inch round table seats 8 comfortably (10 at a squeeze), a 72-inch round seats 10 to 12. Our guide to wedding table sizes has the full numbers.
- Your list of "must" and "must not". Who has to sit together, who should never share a table, who needs to be near an exit or far from the speakers.
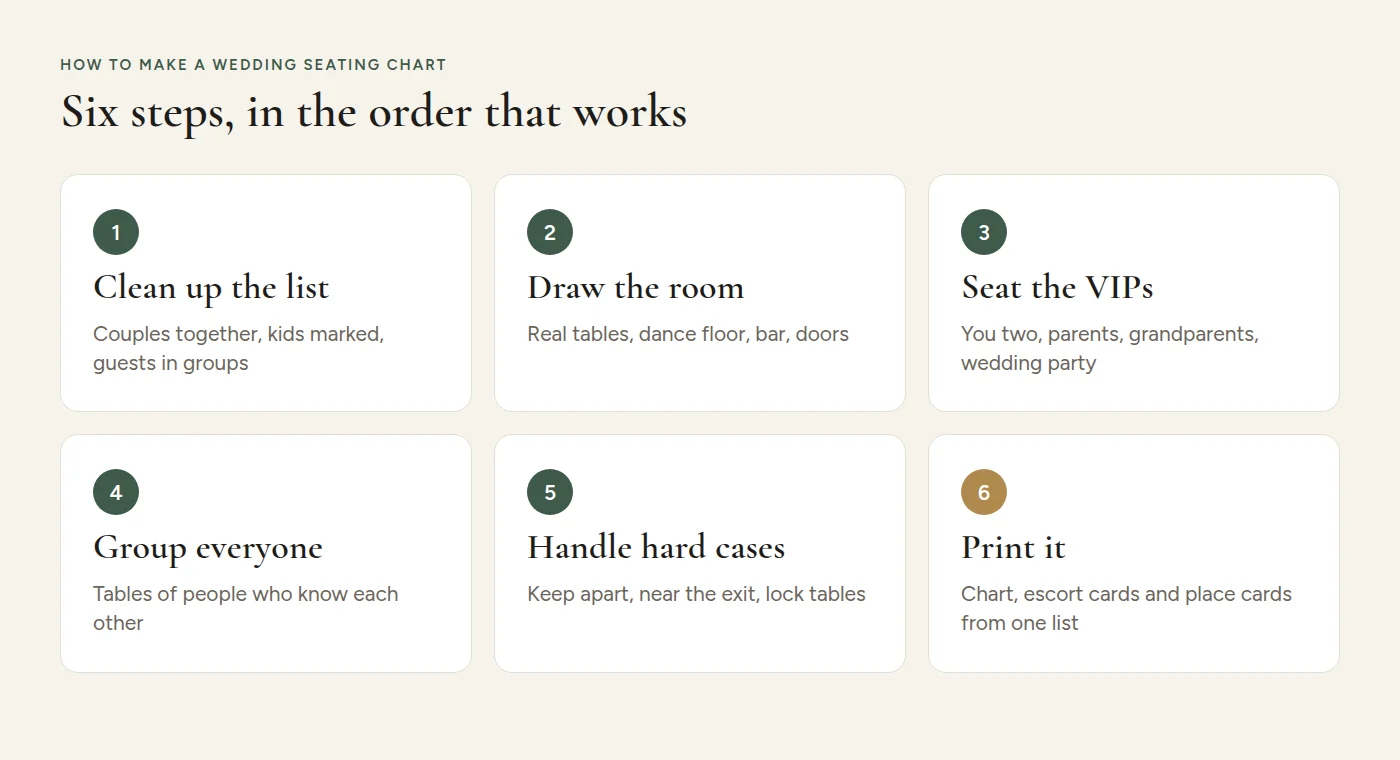
Step 1: Clean up your guest list
Before you seat anyone, make sure the list itself is right. Every couple should be two lines that stay together. Every "plus one" needs to become a real name as soon as you know it. Children need to be marked, because they may sit at a kids table or need high chairs.
Split guests into groups that will guide your seating: bride's family, groom's family, university friends, work friends, neighbours, the running club. These groups become the first draft of your tables.
If your list lives in Excel, Google Sheets or your wedding website, you do not need to retype it. In seatings you can paste it or upload the file, and couples written as "Grace & Oliver Bennett" become two guests automatically.
Step 2: Draw the room
Put the tables where they really are. Sizes and positions matter more than people expect:
- The tables closest to the couple's table and the dance floor are the "best seats". Save them for parents, grandparents and the wedding party.
- Tables next to the speakers are the loudest. Keep grandparents and anyone with hearing aids away from them.
- Tables near the doors and restrooms are good for older guests, pregnant guests and parents with babies.
- The table in the far corner is fine for the friends who will spend the night on the dance floor anyway.
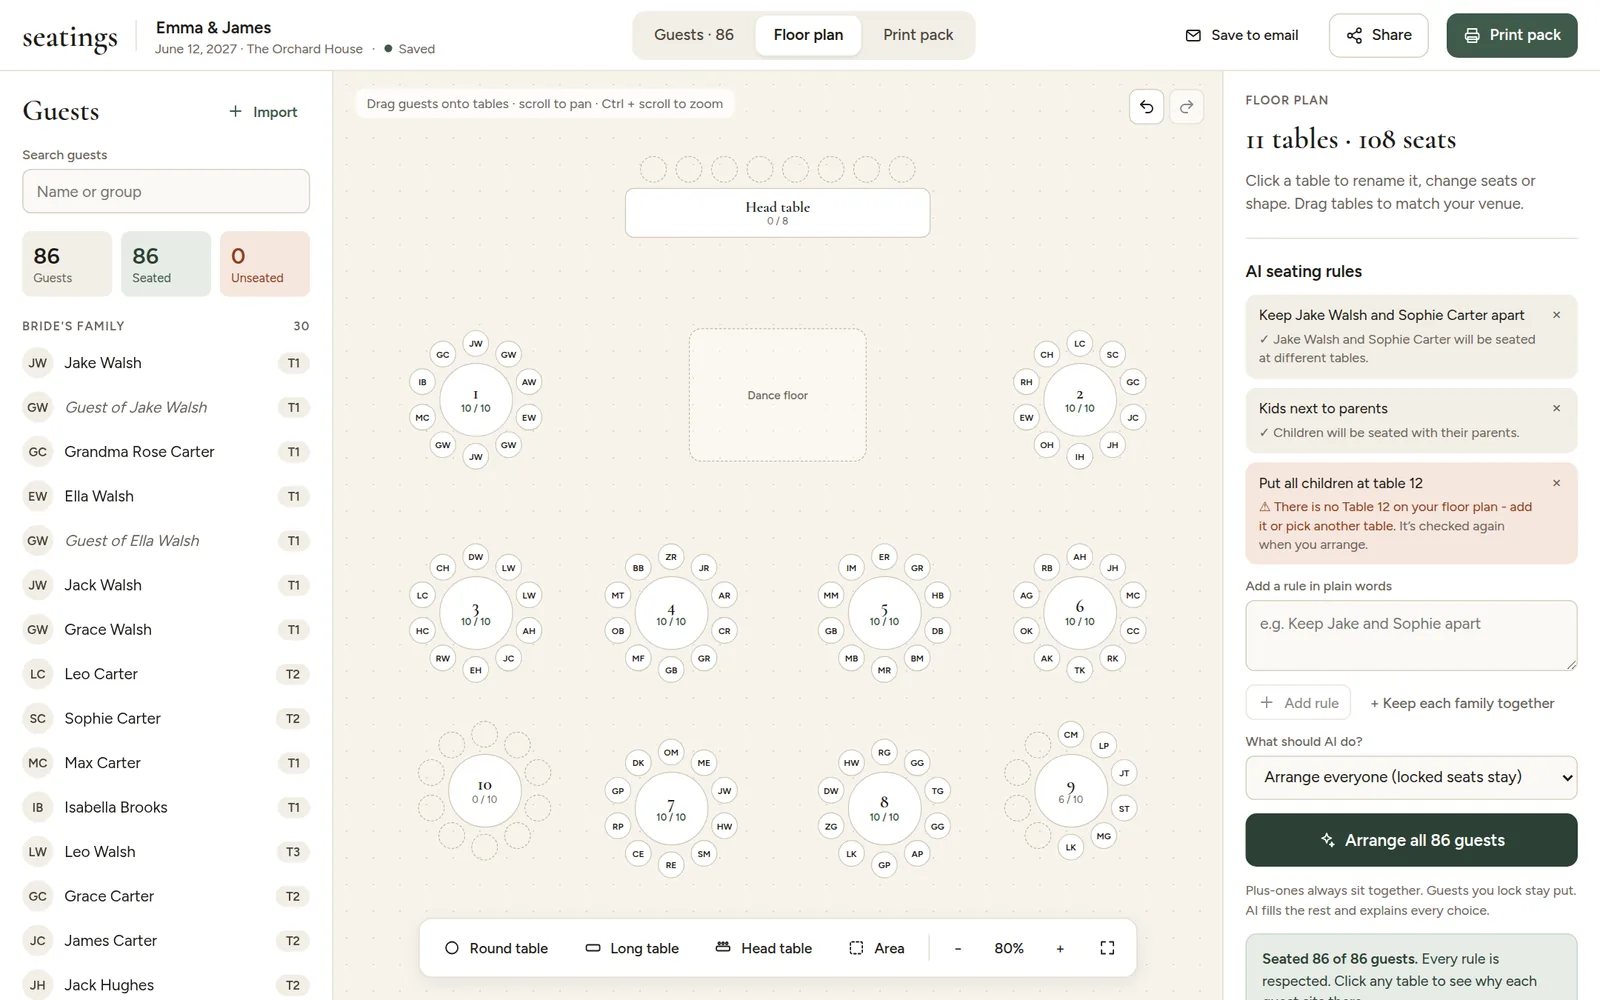
Step 3: Seat the VIPs first
Decide where the two of you sit. Most couples choose between a sweetheart table (just the two of you) and a head table (you plus the wedding party). Both are fine. Our sweetheart vs head table guide explains the trade-offs.
Then place, in this order:
- Parents and grandparents, at the tables closest to you. With divorced parents, give each parent their own table of honour with their own family and partner, at a similar distance from you.
- The wedding party and their partners (if they are not at a head table).
- The officiant and their partner, if they stay for the reception.
- Guests with special needs: wheelchair access, a quiet corner, close to the exit.
Step 4: Group everyone else
Now the bulk of the work, which is also the easy part. Fill tables group by group: all the college friends together, work friends together, cousins together. Aim for tables where every guest knows at least two other people.
A few rules of thumb:
- Keep couples together. Seating partners at different tables is rarely a good idea at a wedding, even if it works at a dinner party.
- Seat by age and energy, not only by family. The 25-year-old cousins will have more fun with your friends than at the table of great-aunts.
- Mix leftovers thoughtfully. Three work friends and four neighbours can share a table if they are of a similar age and you introduce them in your head first: who will they talk to?
- Singles are fine. Do not create a "singles table" as a spectacle. Seat single guests with people they already know.
- Kids: decide once. Either children sit with their parents, or there is a kids table close to their parents. Our guest list guide covers kids and plus ones.
Drag guests onto tables, or let AI seat everyone by your rules in seconds. Free to plan, no account needed.
Step 5: Handle the hard cases
Every family has a few. Write them down as short rules before you start moving names around:
- "Keep Uncle Mark and Aunt Lisa at different tables."
- "Grandma Rose near the exit, far from the speakers."
- "Kids next to their parents."
- "Max sits with his university friends."
This is where an app is a real help. In seatings you can write these rules in plain words and let AI seating arrange everyone around them, then fix anything by hand. If a rule cannot be followed (for example, there is no table big enough for a group of 14), it tells you why instead of silently breaking it.
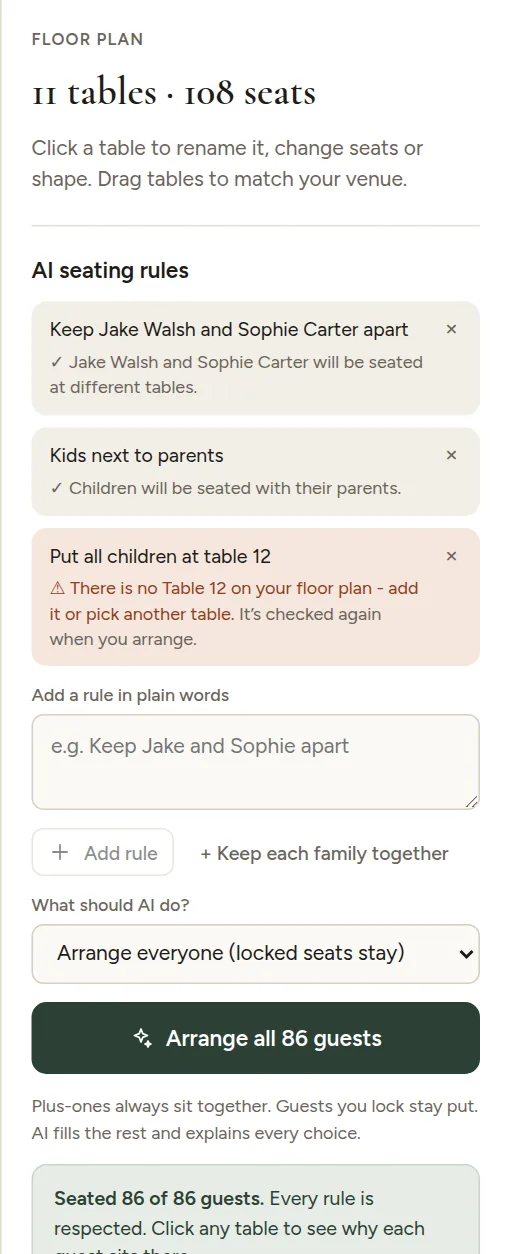
When you are happy with a table, lock it so nothing moves when you rearrange the rest.
Step 6: Choose how guests will find their seat
There are three common ways to show guests where to sit, and you can combine them:
| Method | What guests see | Best for |
|---|---|---|
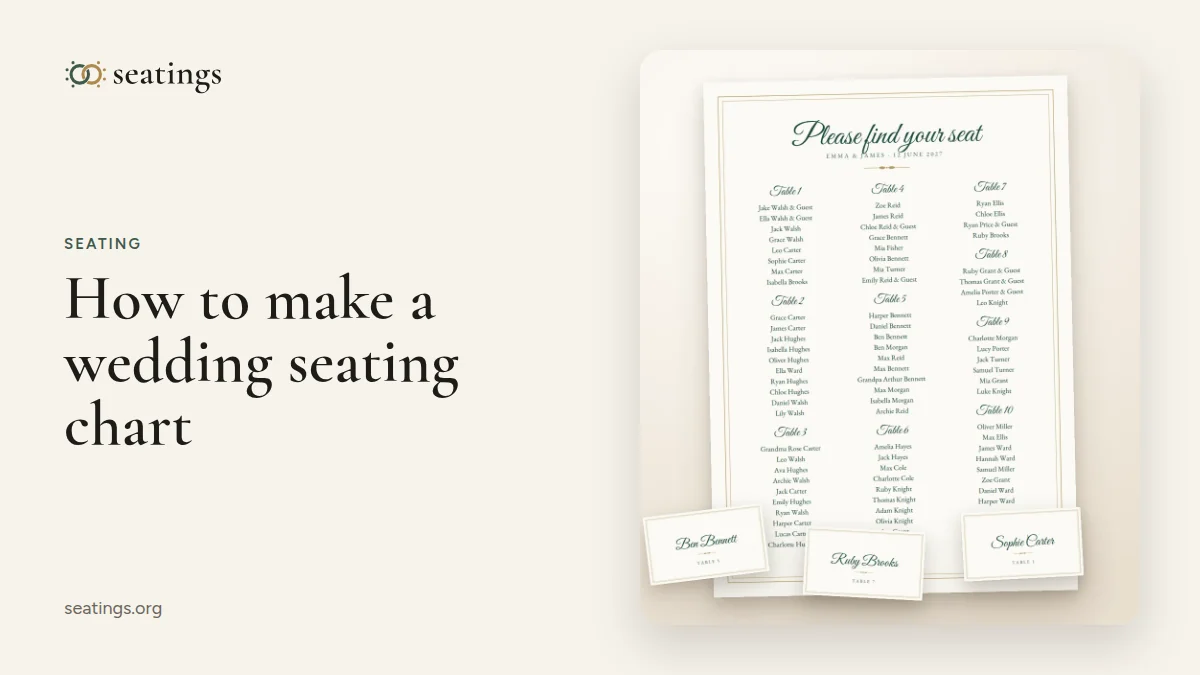
| Seating chart (poster) | A big sign with every table and name | Any size, the most common choice |
| Escort cards | A small card per guest with their table number | Weddings where you also want a keepsake or favour |
| Place cards | A card at each seat with the guest's name | Plated dinners, assigned seats, formal weddings |
The difference between escort cards and place cards confuses a lot of couples. We explain it in escort cards vs place cards.
Sort the chart alphabetically or by table?
- Alphabetical (A to Z) is the fastest for guests: they look for their surname and read the table number. Best for more than about 80 guests.
- By table looks lovely and lets guests see who they are sitting with, but people have to scan every table to find their name. Best for smaller weddings.
A good compromise for large weddings is alphabetical by surname, split into columns, with the table number next to each name in bold.
Step 7: Print it
For a seating chart poster, 18 by 24 inches or 24 by 36 inches (A2 or A1 in Europe) are the usual sizes. A rule of thumb: guests should be able to read their name from about one and a half metres (five feet) away, so keep names at least 18 to 24 points on a large poster.
Other things to check before you send files to the printer:
- Bleed. If your design has a background colour or pattern that runs to the edge, the print shop needs 3 mm (1/8 inch) of bleed.
- Names spelled right. Print a draft on your home printer and let one parent proofread it.
- One source of truth. If the chart, the escort cards and the place cards are made separately, they will eventually disagree. Generate them from the same list.
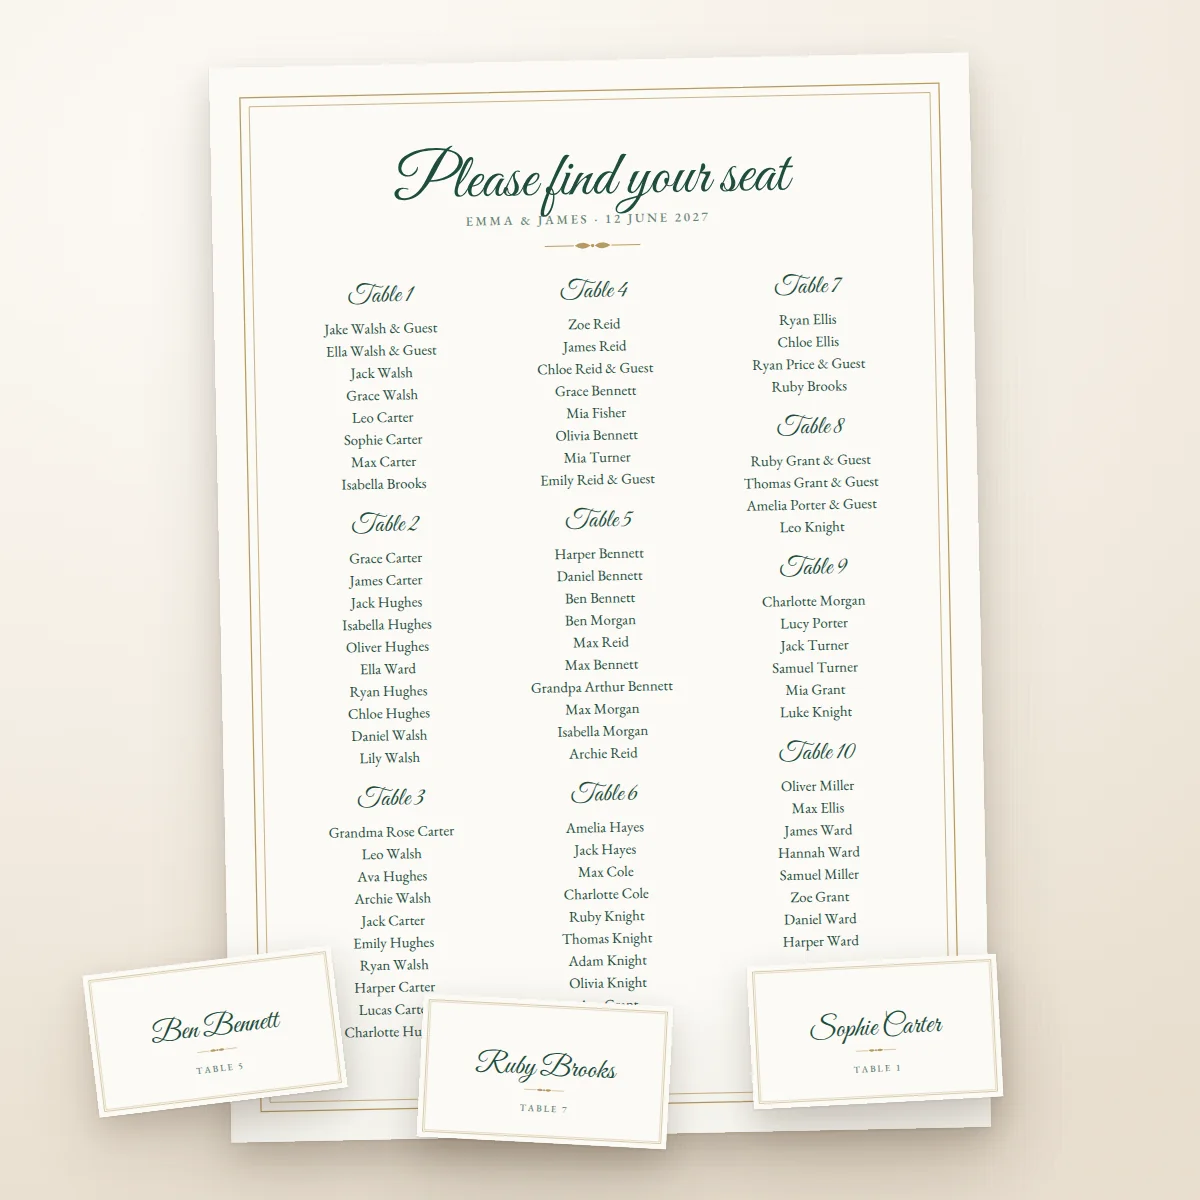
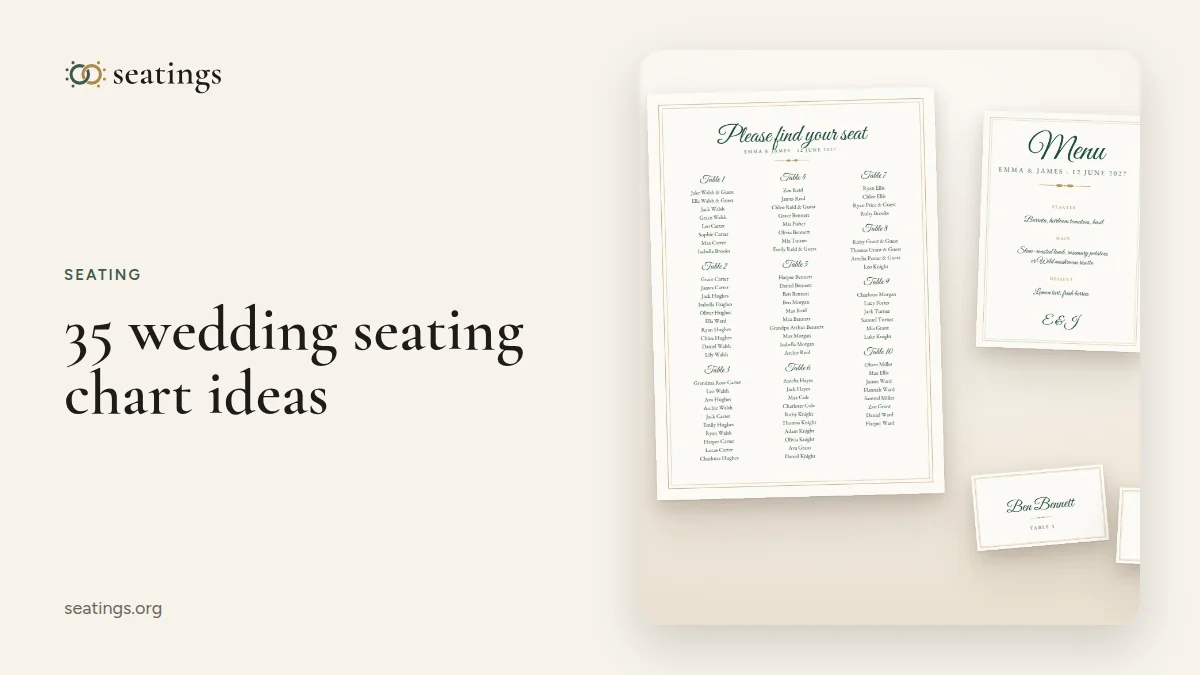
In seatings, the seating chart, escort cards, place cards, table numbers, menu and welcome sign are all made from your seating in one matching style, and you can download print-ready PDFs again after every change. For more display ideas, see our wedding seating chart ideas.
Common seating chart mistakes
- Starting before the RSVPs are in. You will seat people who are not coming and forget people who are.
- Seating the wedding party away from their partners. If you have a head table, seat the partners at a table right next to it.
- Tables of strangers. Every guest should know at least one or two people at their table.
- Putting the elderly next to the speakers. Speeches, music and a noisy bar are hard with hearing aids.
- Forgetting vendors. Your photographer, videographer and planner need a place to eat too. Ask them whether they want a seat in the room or a separate table.
- Changing names in three places. Keep one list and print everything from it.
Frequently asked questions
What is the cheapest way to make a wedding seating chart?
The cheapest way is a free online planner or a spreadsheet, then printing the chart as a poster at a local print shop or as several A4 or letter sheets mounted on a board. seatings is free to plan; you only pay if you want AI seating and the matching print pack.
Is there a free app to create a wedding seating chart?
Yes. seatings lets you import your guest list, build the floor plan and seat your guests for free, without creating an account. Paid extras are AI seating by your rules and the print-ready files.
How far in advance should I make my seating chart?
Start a draft about six weeks before the wedding and finish it one to two weeks before, after the RSVP deadline and before the final headcount goes to your caterer.
Should the seating chart be alphabetical or by table?
Alphabetical by surname is faster for guests and best for large weddings. By table works well for smaller weddings and lets guests see who they are sitting with.
Do you need a seating chart for a small wedding?
For fewer than about 40 guests you can skip assigned tables, but a simple chart still helps older guests and families with children find good seats, and it stops the "where do we sit?" shuffle.
What size should a wedding seating chart be?
18 by 24 inches is enough for up to about 100 guests. For more guests, use 24 by 36 inches, or split the list over two boards.