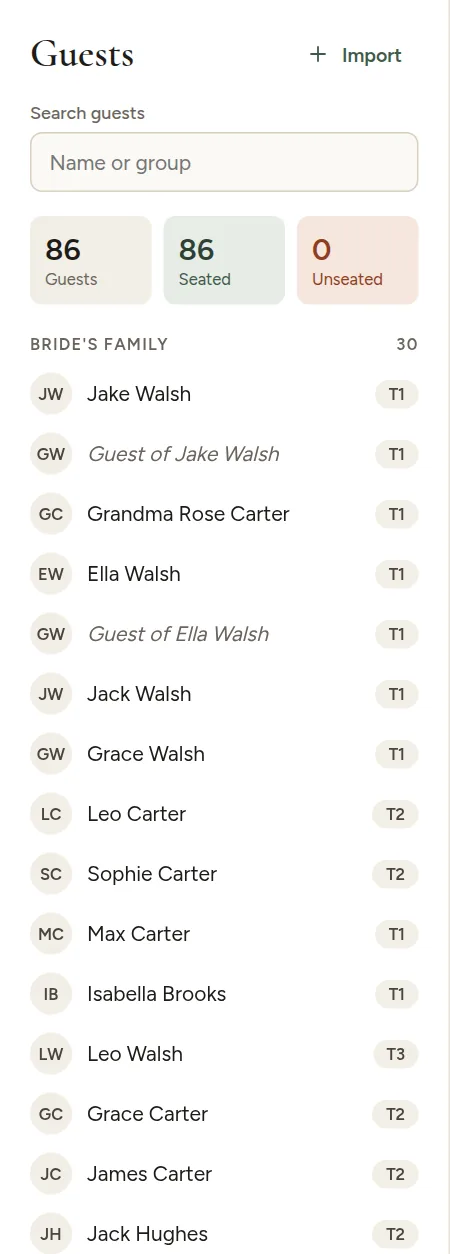
On the Floor plan tab, the guest list on the left shows everyone grouped by side or group, with their table next to their name, or Unseated.
On a computer: drag and drop
- Drag a guest from the list onto a table to give them the first free seat.
- Drop them on a specific seat to choose exactly where they sit.
- Drag a seated guest to another seat to move them.
- Plus-ones come along with the guest who brings them.
On a phone or tablet: tap, then tap
- Tap Guests at the top of the floor plan. The red number shows how many still need a seat.
- Tap a name. The list closes and a green bar shows who you are seating.
- Tap a table to give them the first free seat, or tap an empty seat.
After each guest, Next guest brings the list back. To move someone, tap their seat on the plan, then tap their new table or seat. The green bar also has Unseat to take them off the table.
Move around the plan with one finger and pinch with two fingers to zoom. Drag a table to move it, and tap it, then Edit, to rename it or change its seats.
To take someone off a table, set their table to Unseated in the Guests tab, or use the x next to their name in the table panel.
Who still needs a seat
The counters above the list show how many guests there are, how many are seated and how many are unseated. Unseated guests are not on the seating chart or cards, and the print pack warns you about them.
Seating a hundred guests by hand takes a while. AI seating can do it in seconds and still respect every seat you lock.